7. Linux and Windows interoperability
7.1. Tools to access the system resources and apps between Linux and Windows.
Deploy Windows 10 VM in KVM on Linux.
Access Windows desktop remotely from Linux via xfreerdp utility.
Access Linux shell remotely from Windows desktop via SSH client, such as putty.
Run GUI applications remotely on Linux from Windows desktop by using Xming X-server on Windows.
File system sharing over the network between Linux and Windows via SMB/CIFS.
7.2. Windows 10 virtual appliance deployment in KVM (Exercise)
Download the Windows 10 VM and deploy it on your desktop:
cd /tmp
mkdir WinVM
cd WinVM
wget http://capone.rutgers.edu/coursefiles/win10.qcow2
wget http://capone.rutgers.edu/coursefiles/win10.xml
mv win10.qcow2 /var/lib/libvirt/images
cp win10.xml /etc/libvirt/qemu
chown hostadm:hostadm /etc/libvirt/qemu/win10.xml
chown hostadm:hostadm /var/lib/libvirt/images/win10.qcow2
virsh define /etc/libvirt/qemu/win10.xml
Start the VM. Launch the virtual viewer
virsh start win10
virt-viewer win10
Find out the IP address that has been assigned to win10 VM: on your desktop, run command
virsh domifaddr win10
Add the IP address of win10, into /etc/hosts on your desktop for the host name resolution, as below for example. If the correct IP address entry is already present in file /etc/hosts, skip this step.
file content
192.168.122.183 win10
We’ll be accessing the desktop from win10 over the private virtual network. The links below demonstrates how to add the IP address of virbr0 of your desktop, 192.168.122.1, to the windows host file: Launch Notepad as Administrator,
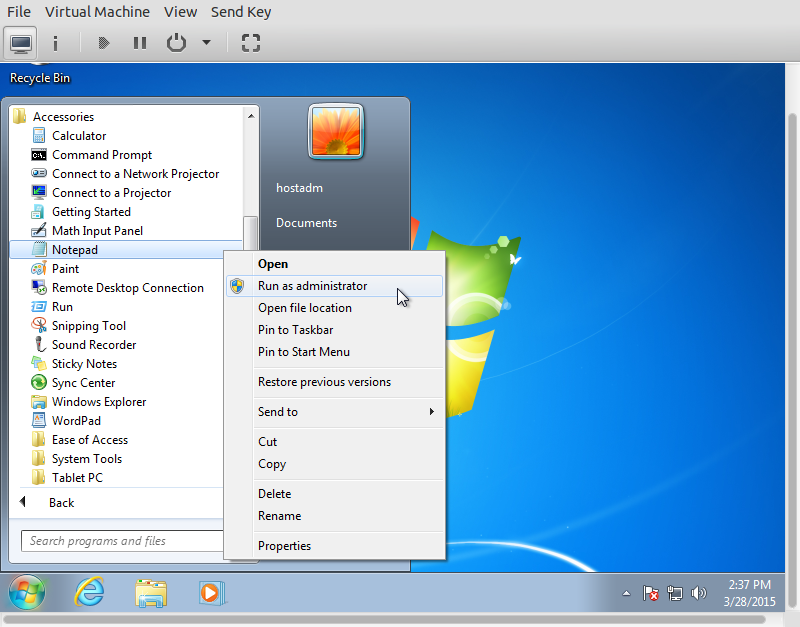
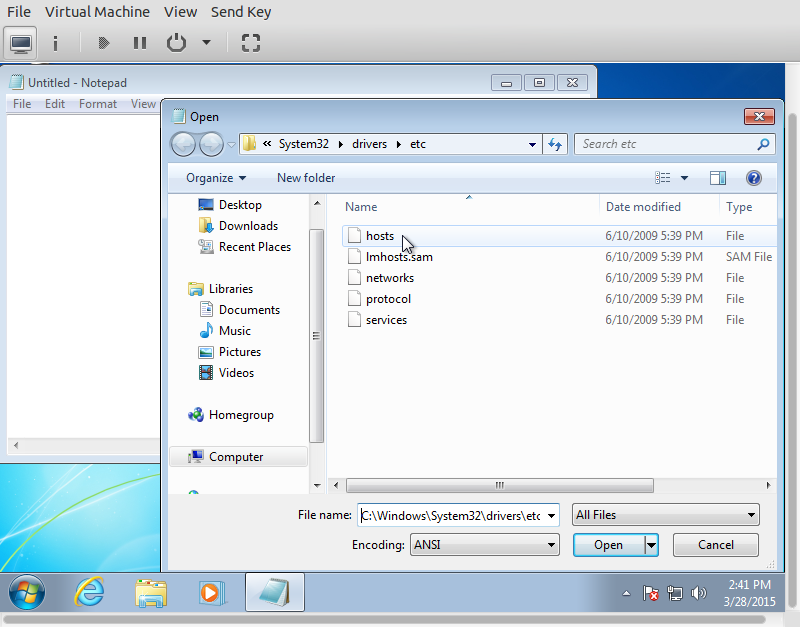
navigate to C:\WINDOWS\system32\drivers\etc, and open file hosts,
Save the file:
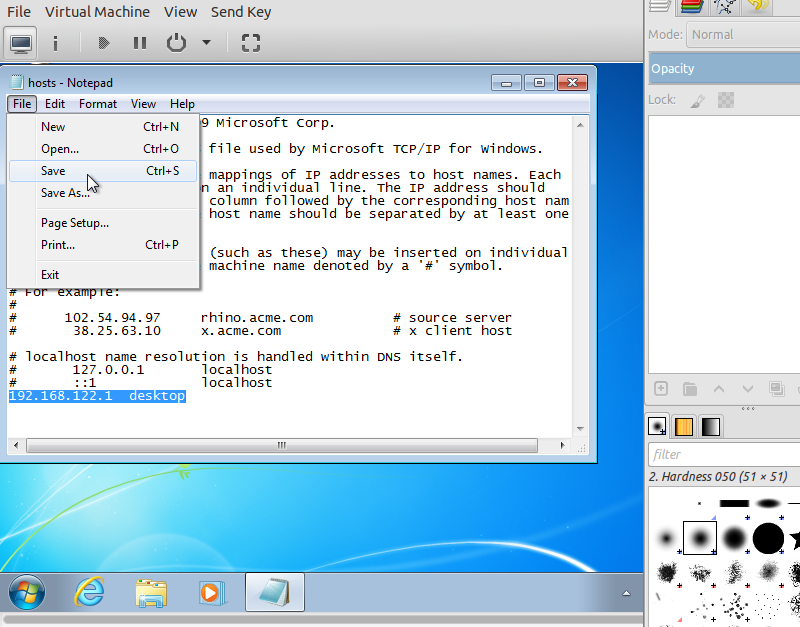
add the following line in end of the file.
file content
192.168.122.1 desktop
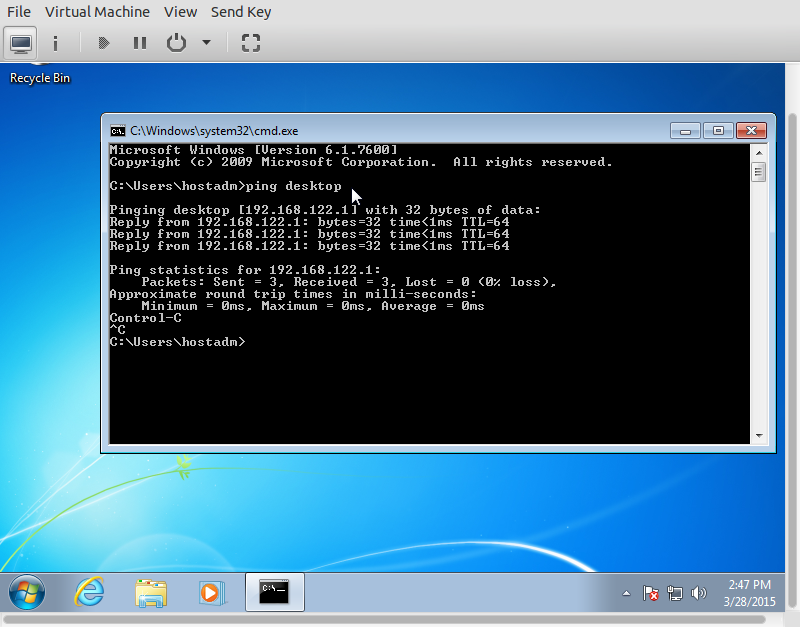
Try pinging the desktop by the host name from the command line, cmd: (Links to an external site.)
ping desktop
7.3. Enable RDP service on Windows 10 (Exercise)
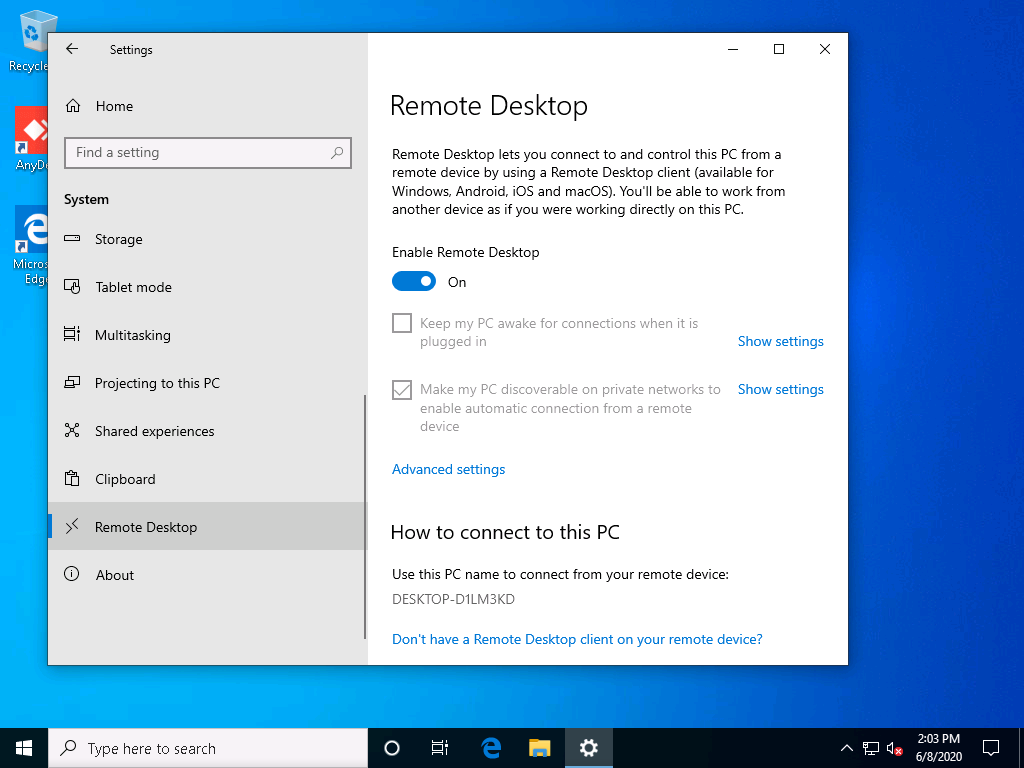
On Windows 10 VM, right click onto the start menu, then select the settings.
In the Remote Desktop section, make sure Remote Desktop is set to ON.
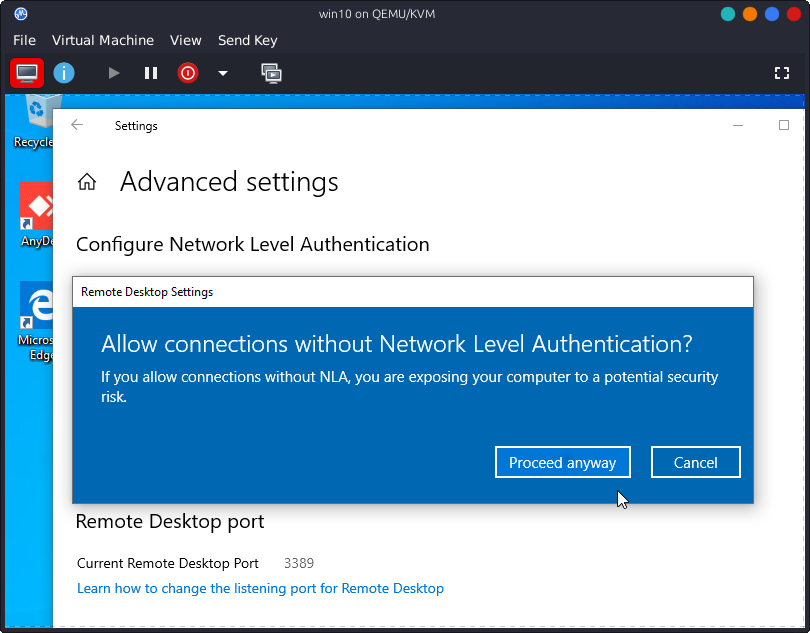
In the Advanced settings, disable Network Login.
Add user hostadm to the list of users for Remote Desktop.

Disable the Windows firewall for the Domain and the Private networks. This can be done by navigating to the Settings, then Updates & Security -> Windows Security -> Firewall & Network protection.
Disconnect the viewer from the VM.
7.4. Linux RDP client (Exercise)
On your desktop, install freerdp-x11:
apt-get install freerdp-x11
Connect to the Windows RDP as user hostadm:
xfreerdp /u:hostadm /cert-ignore /v:win10
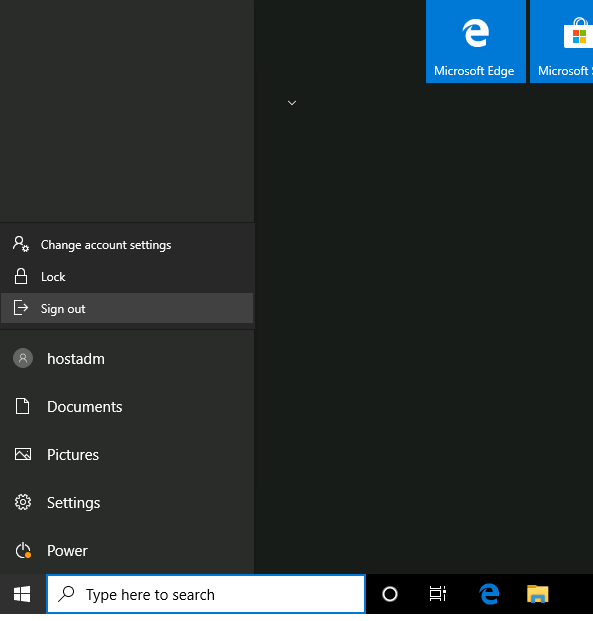
If you need to logout from win10 desktop, please sign out from user hostadm as shown below, or power it off. Don’t use “disconnect”.
7.5. Windows SSH client (Exercise)
Make sure ssh server is running on your desktop:
systemctl status sshd
It should show Active (running) status.
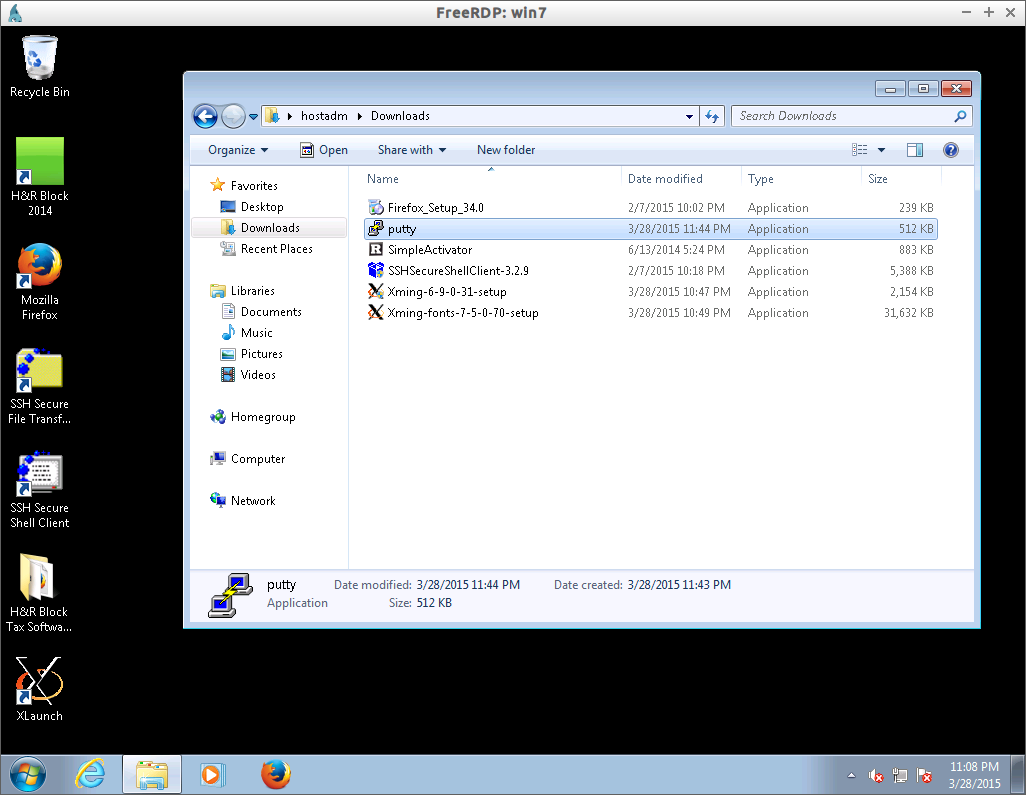
putty.exe executable ssh client for Windows can be found in folder Downloads on win10 VM.
If you need it for your personal computer,
it can be downloaded from here
By using putty, SSH to your Linux desktop by using host name desktop or IP address 192.168.122.1. You should be able to login as hostadm.
7.6. X server on Windows 10 (Exercise)
In order to be able to run GUI applications off of Linux remotely, you need to have an X-server on your desktop. Most of the Linux distros come with X.Org. There are commercial and open source X-servers for Windows, for example, Opentext Exceed, Xwin32, X.Org in Cygwin, and Xming.
Xming is available for download at Sourceforge
On our win10 virtual host, the Xming installer is already installed.
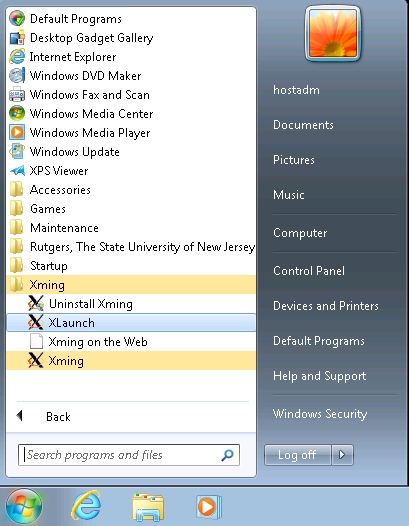
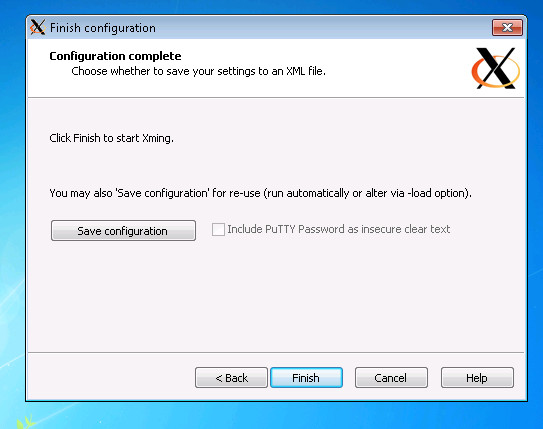
Start XLauncher by following the steps below:
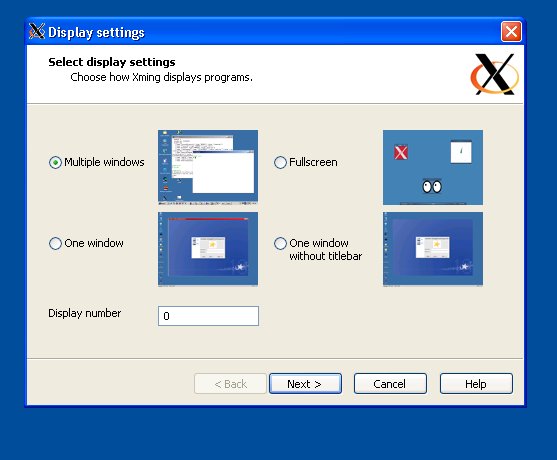
Click next:
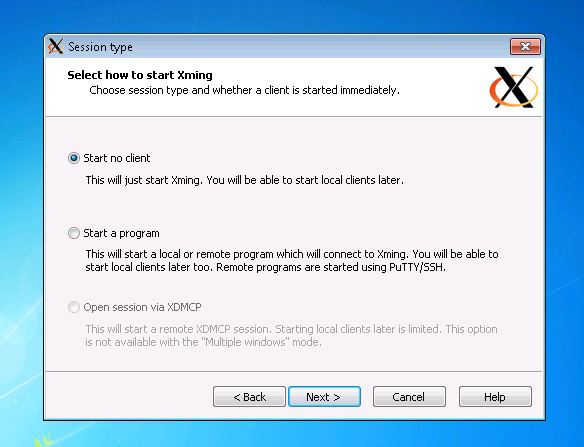
Click next:
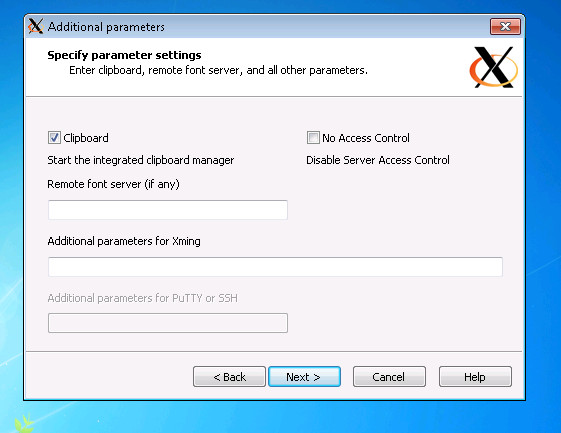
Click finish:
Verify that the X-server is running on the VM: click on “Show hidden icons” on the Taskbar, then bring the cursor to the Xming icon. It should show “Xming Xserver”
Run putty.exe on the Win10 VM.
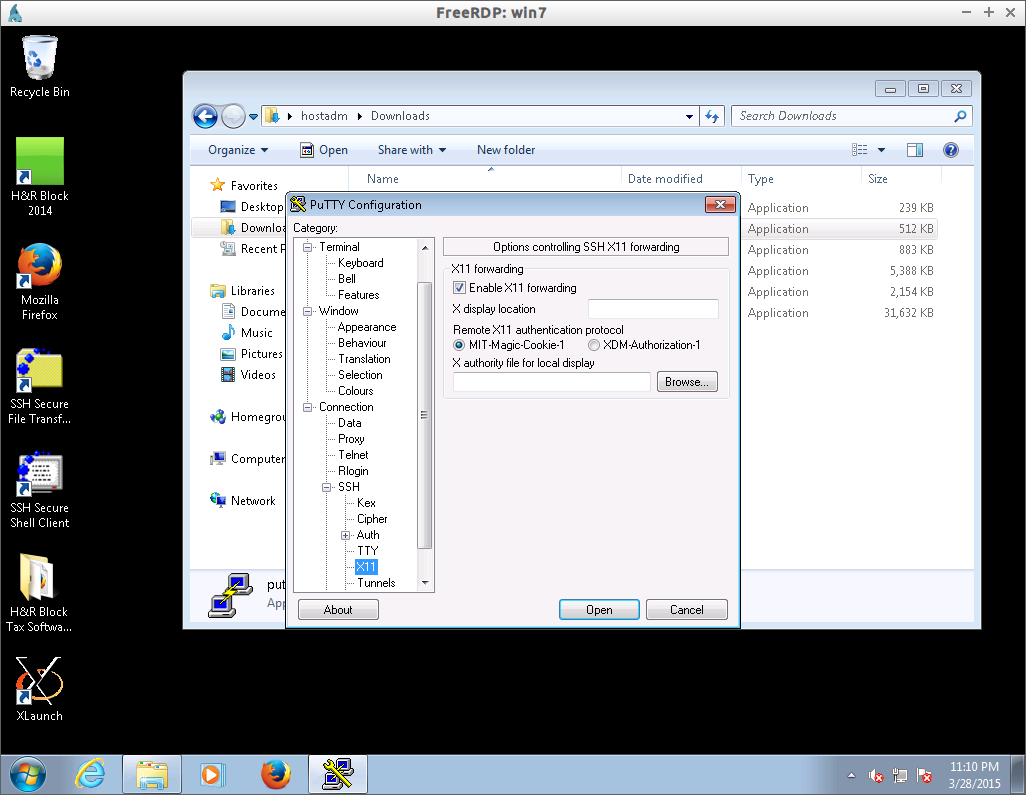
7.7. Run ssh client (putty.exe) with X11 forwarding.
Run putty.exe on the VM. In the ssh options, enable X11 forwarding as shown in the figures below:
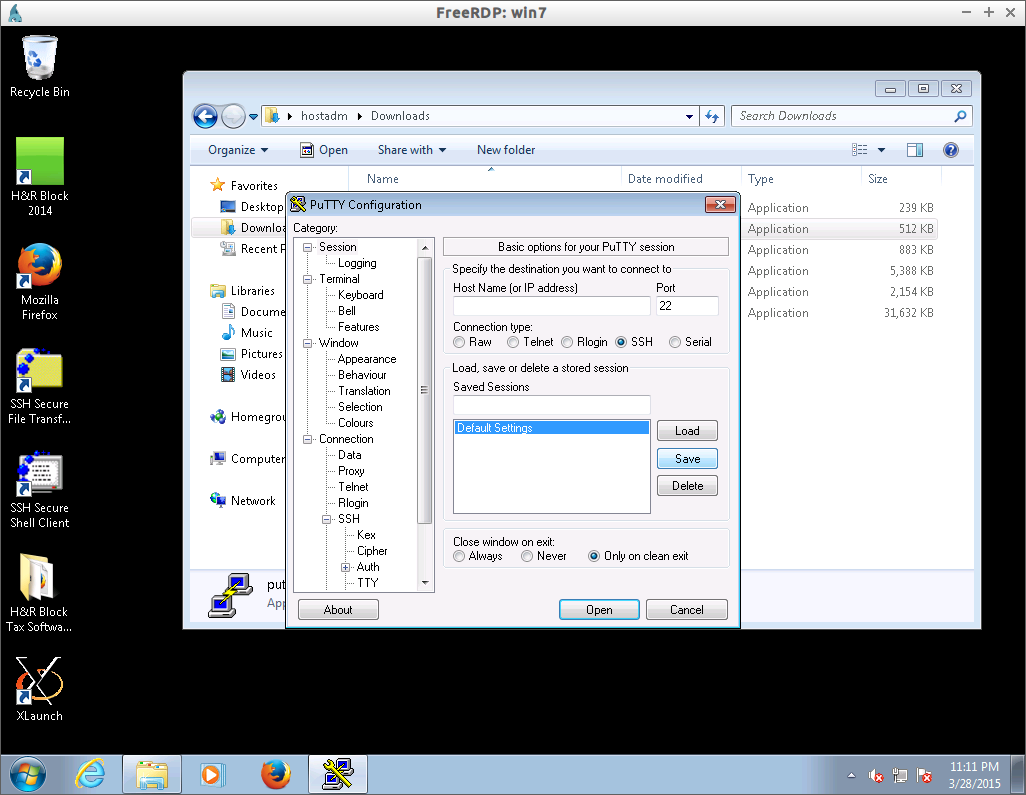
Connect to your Linux desktop, 192.168.122.1, via ssh as user hostadm.
In the command prompt, run a GUI application, for example, gimp. It should start the gimp graphics editor on the desktop.
7.9. Samba installation and configuration (Exercise)
Clone your kvm1 virtual machine into a new VM, smbhost.
virsh shutdown kvm1
virt-clone -o kvm1 -n smbhost -f /home/hostadm/KVM/smbhost.qcow2
Start smbhost and login to its console:
virsh start smbhost
virsh console smbhost
Login as user hostadm and replace kvm1 with smbhost in /etc/hostname file. Reset the machine ID by running the following commands on smbhost:
rm -f /etc/machine-id
rm /var/lib/dbus/machine-id
dbus-uuidgen --ensure=/etc/machine-id
dbus-uuidgen --ensure
Clear the DHCP leased IP settings:
dhclient -r ens3
Reboot. Install samba packages on smbhost:
apt-get install samba samba-common smbclient
Backup the original samba configuration file, smb.conf:
cd /etc/samba
mv smb.conf smb.conf-orig
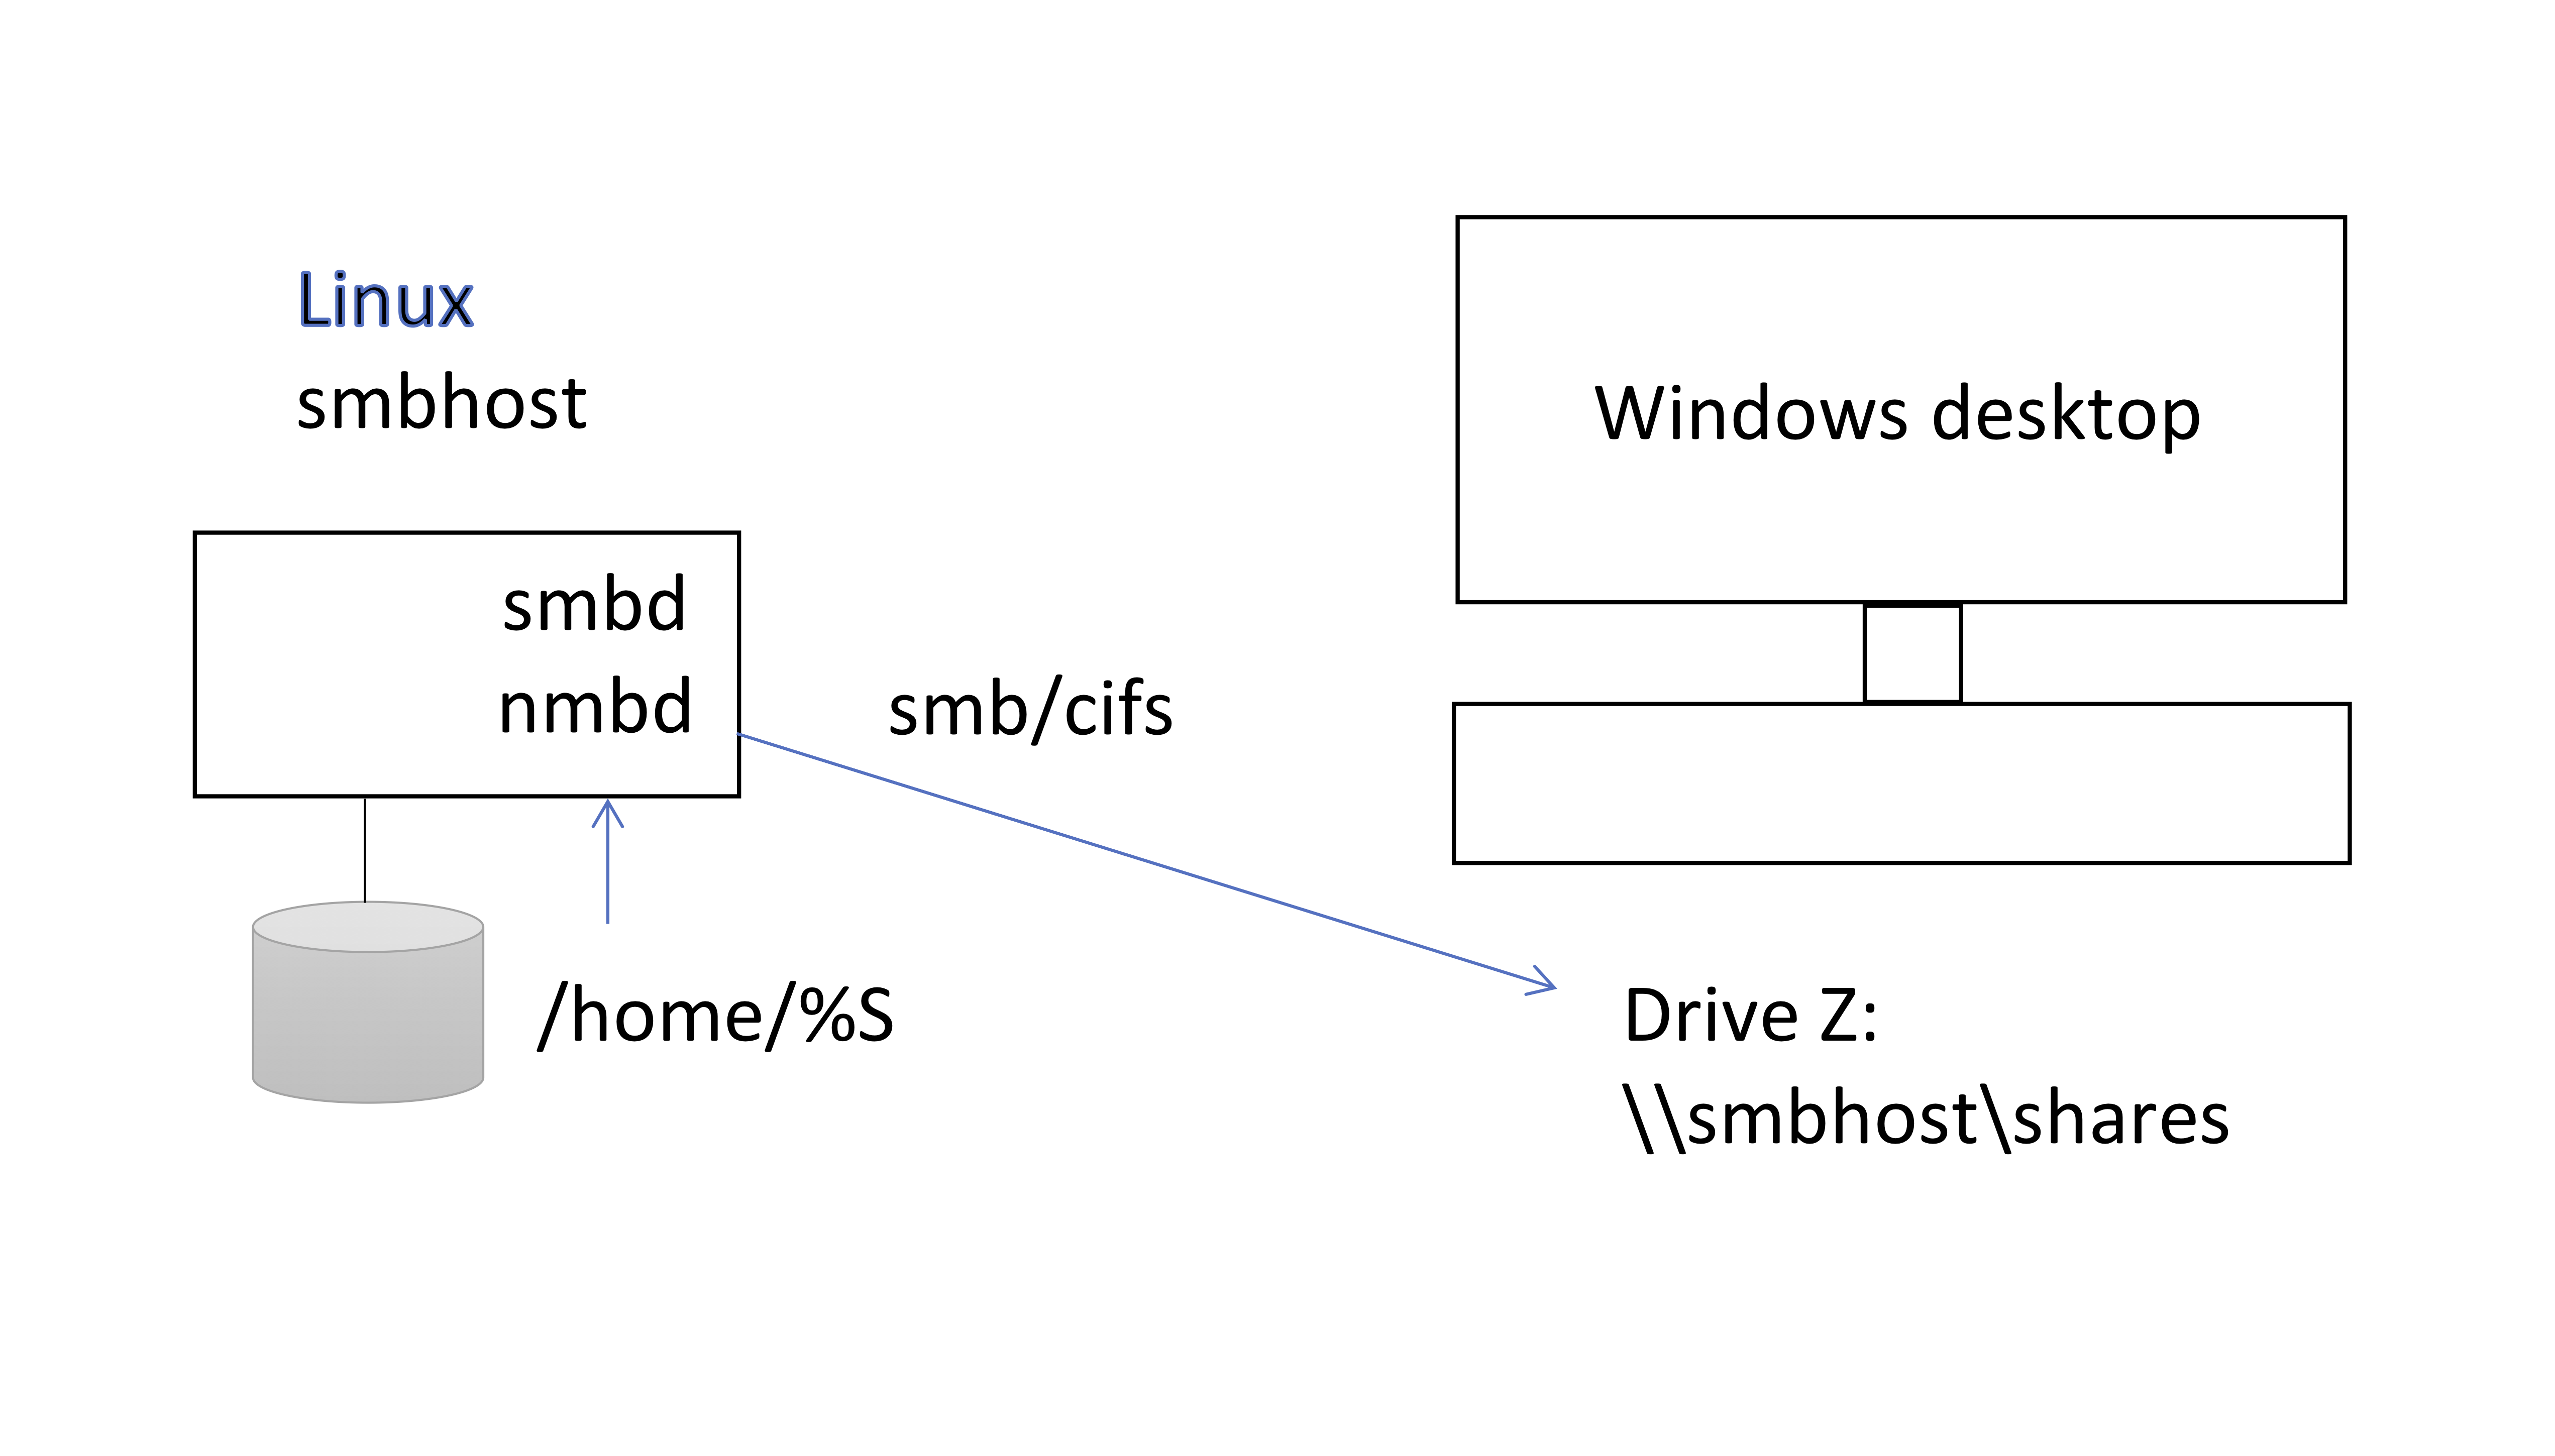
Create a new configuration file, smb.conf, in directory /etc/samba with the following content:
file content
# Global parameters:
[global]
    disable spoolss = Yes
    security = USER
    server string = SMB
    workgroup = GROUP16
    idmap config * : backend = tdb


[homes]
    browseable = No
    comment = Home Directories
    path = /home/%S
    read only = No
    valid users = %S
Run command testparm to verify there is no errors in smb.conf:
testparm
Restart the samba services:
systemctl restart smbd
systemctl restart nmbd
Note, you need to restart the services any time after file smb.conf is modified. Create a new user samba account:
smbpasswd -a hostadm
7.10. Access Samba shares on Windows (Exercise)
On win10 VM, add an entry for smbhost into hosts file, similar to that for your desktop in the previous exercise - run notepad as administrator and add the following line into file C:\WINDOWS\system32\drivers\etc:
file content
192.168.122.85 smbhost
You can map the samba share “homes” as a network drive as follows: in the file explorer, right click on “This PC”; slide to map Network Drive; in the folder line, type \smbhost\homes
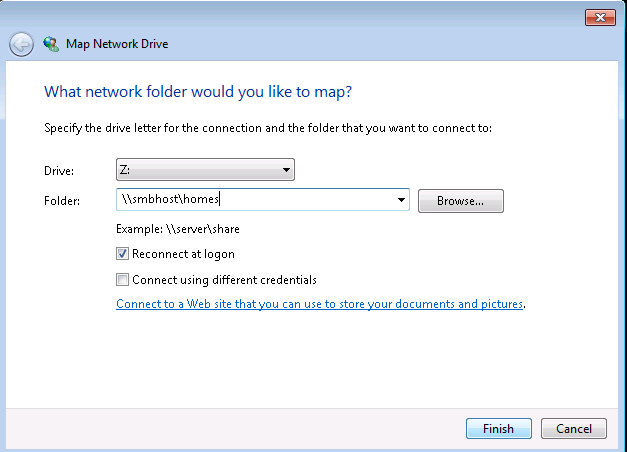
Note, in the procedure above, you need to use either the host name or the IP address of your samba server. You can see the accessed shares in the command prompt on Win 10 by running net use:
net use
To unmap one of the shares run:
net use z: /delete
To unmap all the shares, run:
net use * /delete
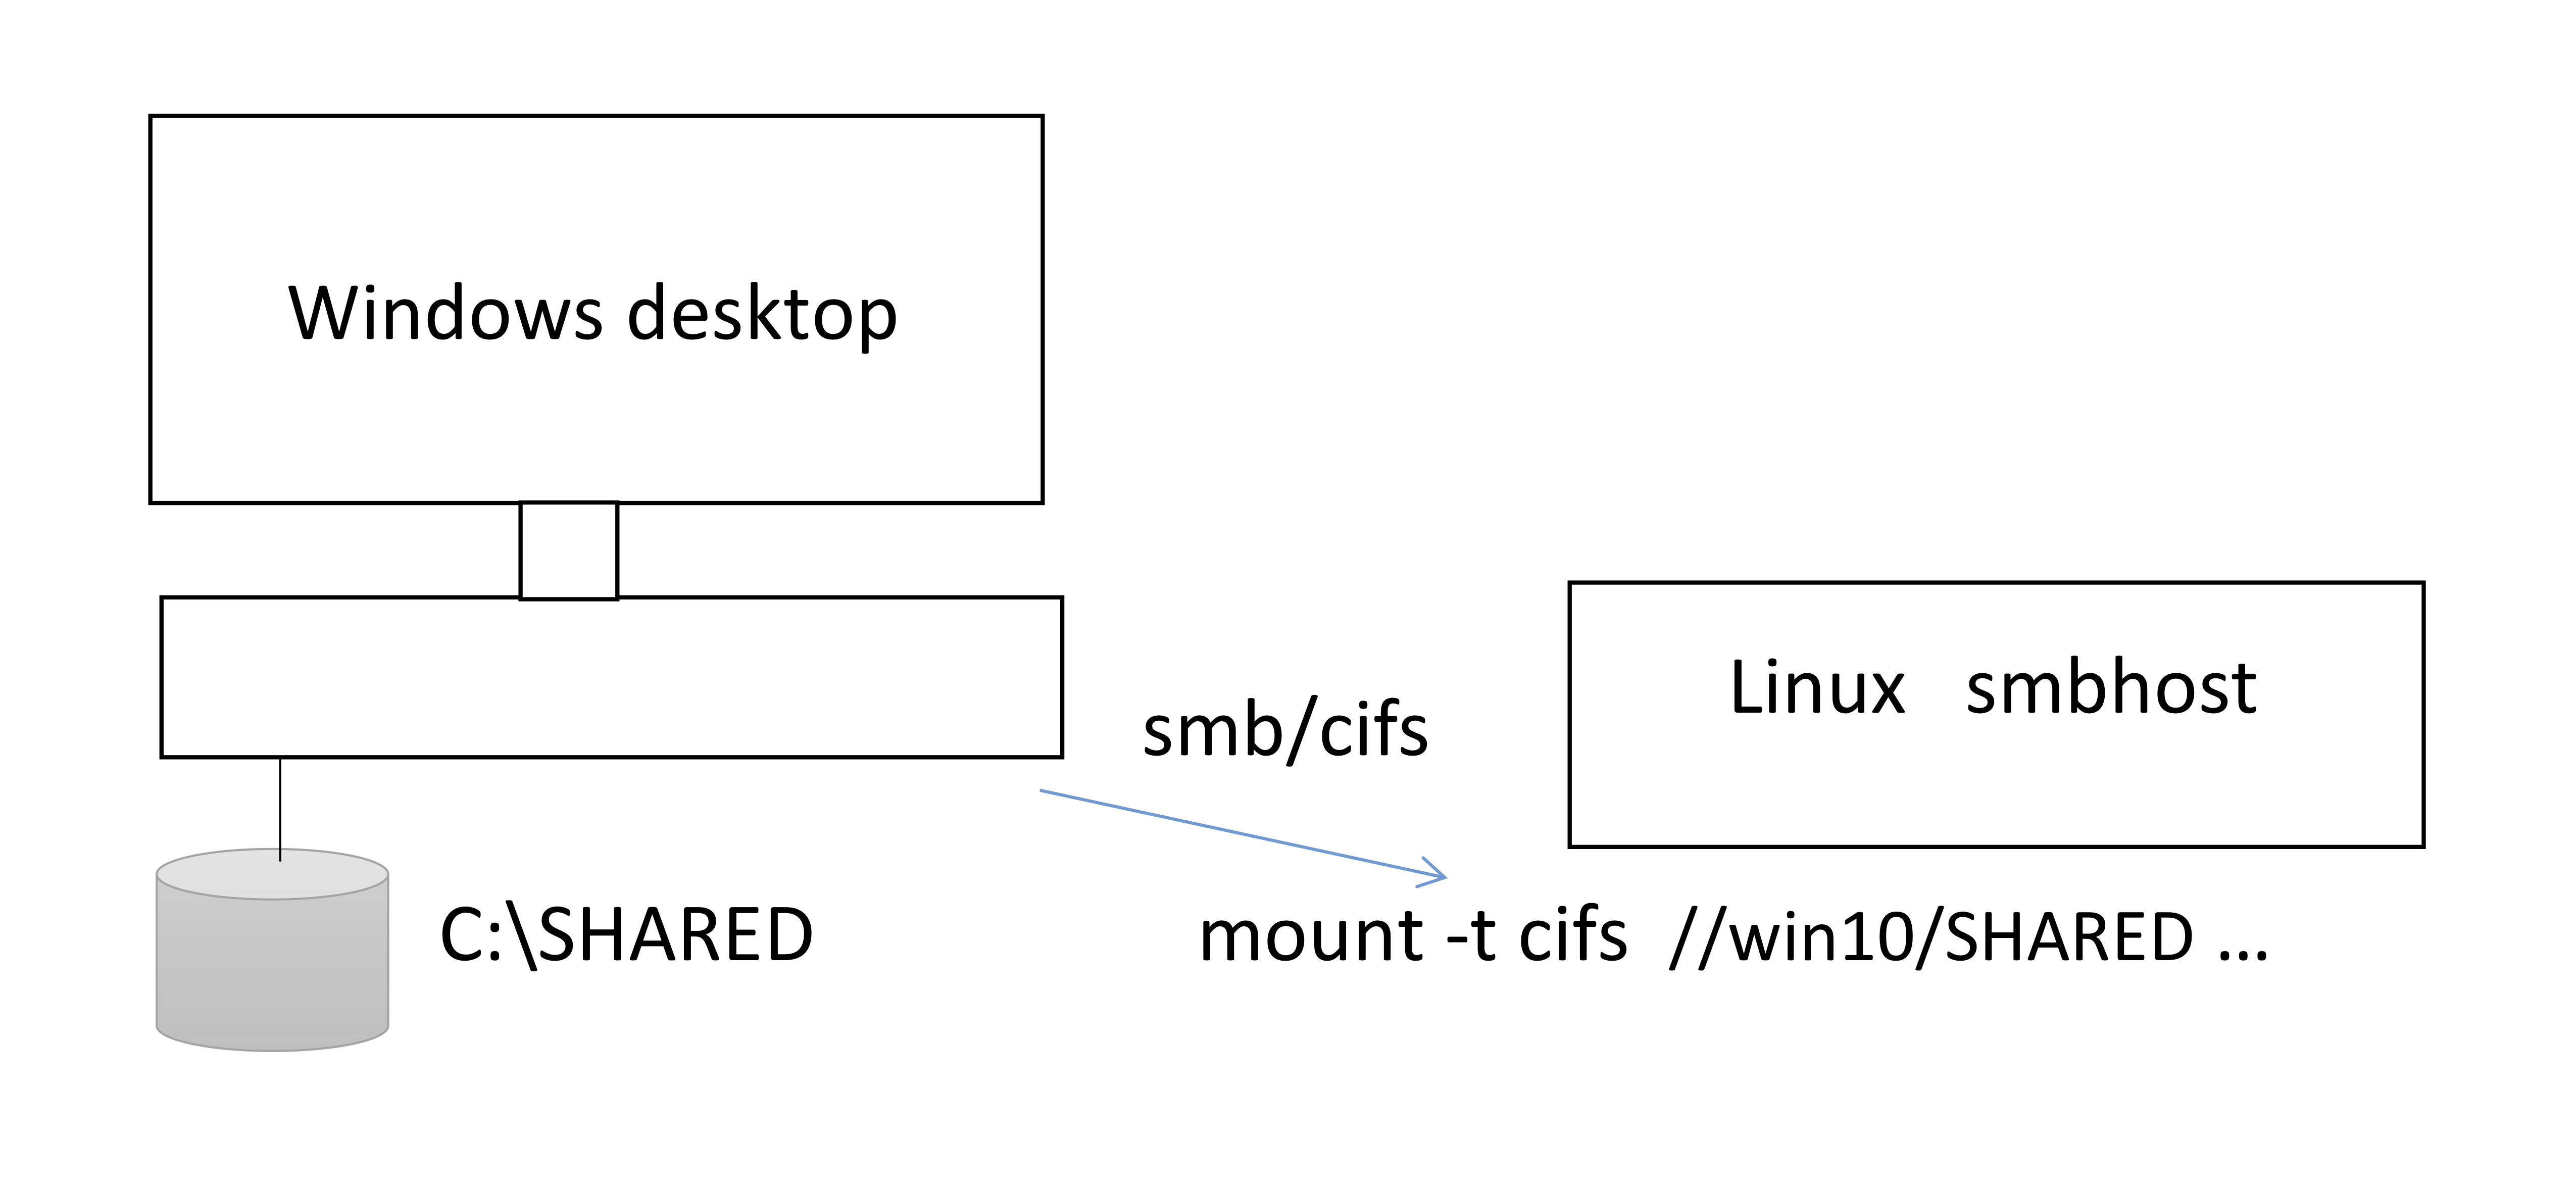
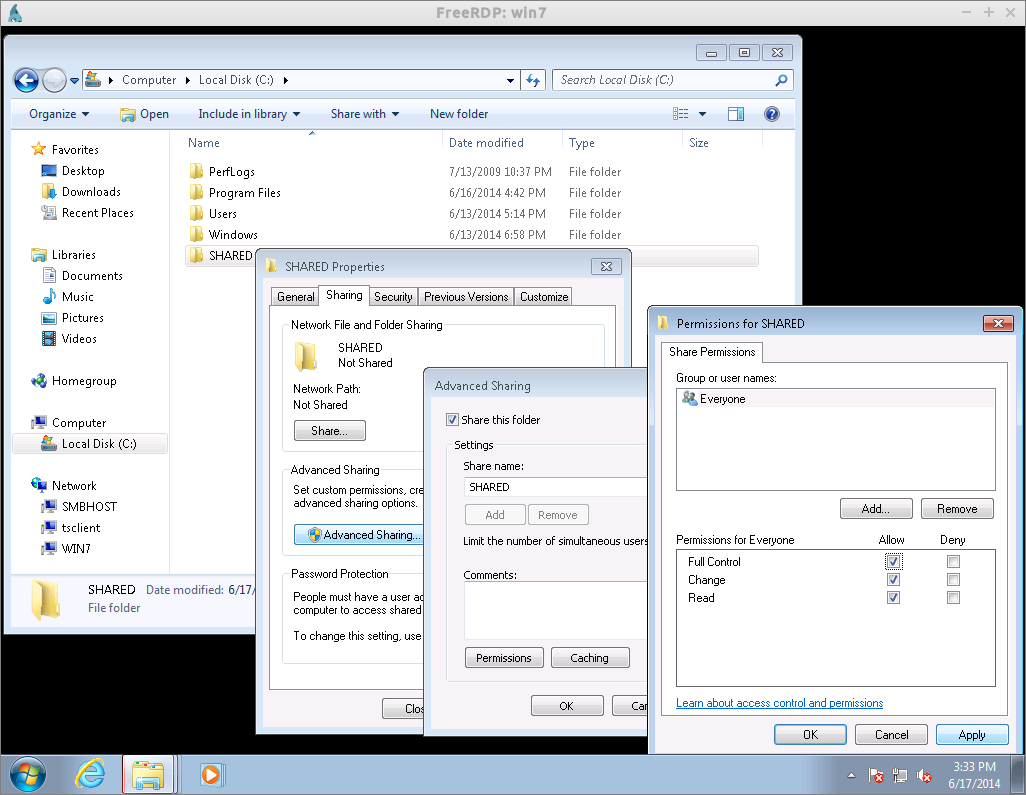
7.12. Sharing a folder in Windows (Exercise)
On Win 10 virtual desktop, create a new folder, C:\SHARED
Share the folder over the network by right clicking on it and slidng down to Properties. Choose Sharing, then advinced sharing, check-in “share this folder”, click onto permissions, select Full Control as demonstrated below: